
🛒 What You’ll Need:
You don’t need a sous vide machine or a $30 egg poacher. Just these basics:
Fresh eggs (the fresher, the tighter the whites—more on this below!)
A medium pot or deep skillet (at least 3–4 inches deep)
Water (enough to fill the pot 2–3 inches)
A small bowl or ramekin (per egg)
A slotted spoon
Paper towels or a clean kitchen towel
That’s it. No vinegar. No lemon juice. No swirling vortex.
🔑 The 4 Secrets No One Tells You
Before we cook, let’s fix the real reasons your poached eggs fail:
1. Use FRESH eggs 🥚
Older eggs have thinner whites that scatter in water. Farm-fresh or store-bought eggs under 5 days old hold together beautifully. (Pro tip: Crack eggs into a bowl the night before and refrigerate covered—they’ll be ready to go in the morning!)
2. Start with HOT—but not boiling—water
Bring water to a gentle simmer (180–190°F / 82–88°C). You should see tiny bubbles rising from the bottom, but no rolling boil. Boiling water = shattered eggs.
3. Crack into a bowl first
Never crack directly into the pot! Transfer eggs to a small bowl, then gently slide them into the water. This prevents yolk breakage and gives you control.
4. Cook LOW and SLOW
3–4 minutes is all you need. But the magic happens when you turn off the heat right after adding the eggs and cover the pot. The residual heat finishes the job—silky, even, and stress-free.
👩🍳 Step-by-Step: The Foolproof Method
Step 1: Heat the Water
Fill your pot with 2–3 inches of water. Heat over medium until it reaches a gentle simmer (small bubbles, not a boil). Then reduce heat to low.
Step 2: Prep Your Eggs
Crack each egg into its own small bowl or ramekin. This lets you inspect for cracks and makes sliding easy.
Step 3: Slide Gently into Water
One at a time, tilt the bowl close to the surface and let the egg slip in softly. Don’t drop it! (You can poach 2–3 eggs at once if your pot is wide enough.)
Step 4: Cover and Wait
Immediately turn off the heat, cover the pot with a lid, and set a timer:
3 minutes for very runny yolk
3.5–4 minutes for a slightly set (but still oozy) yolk
Don’t peek. Don’t stir. Just let the steam do its work.
Step 5: Lift and Drain
Use a slotted spoon to lift each egg. Let it drain for 10 seconds over the pot, then rest it on a paper towel for a moment to absorb excess water.
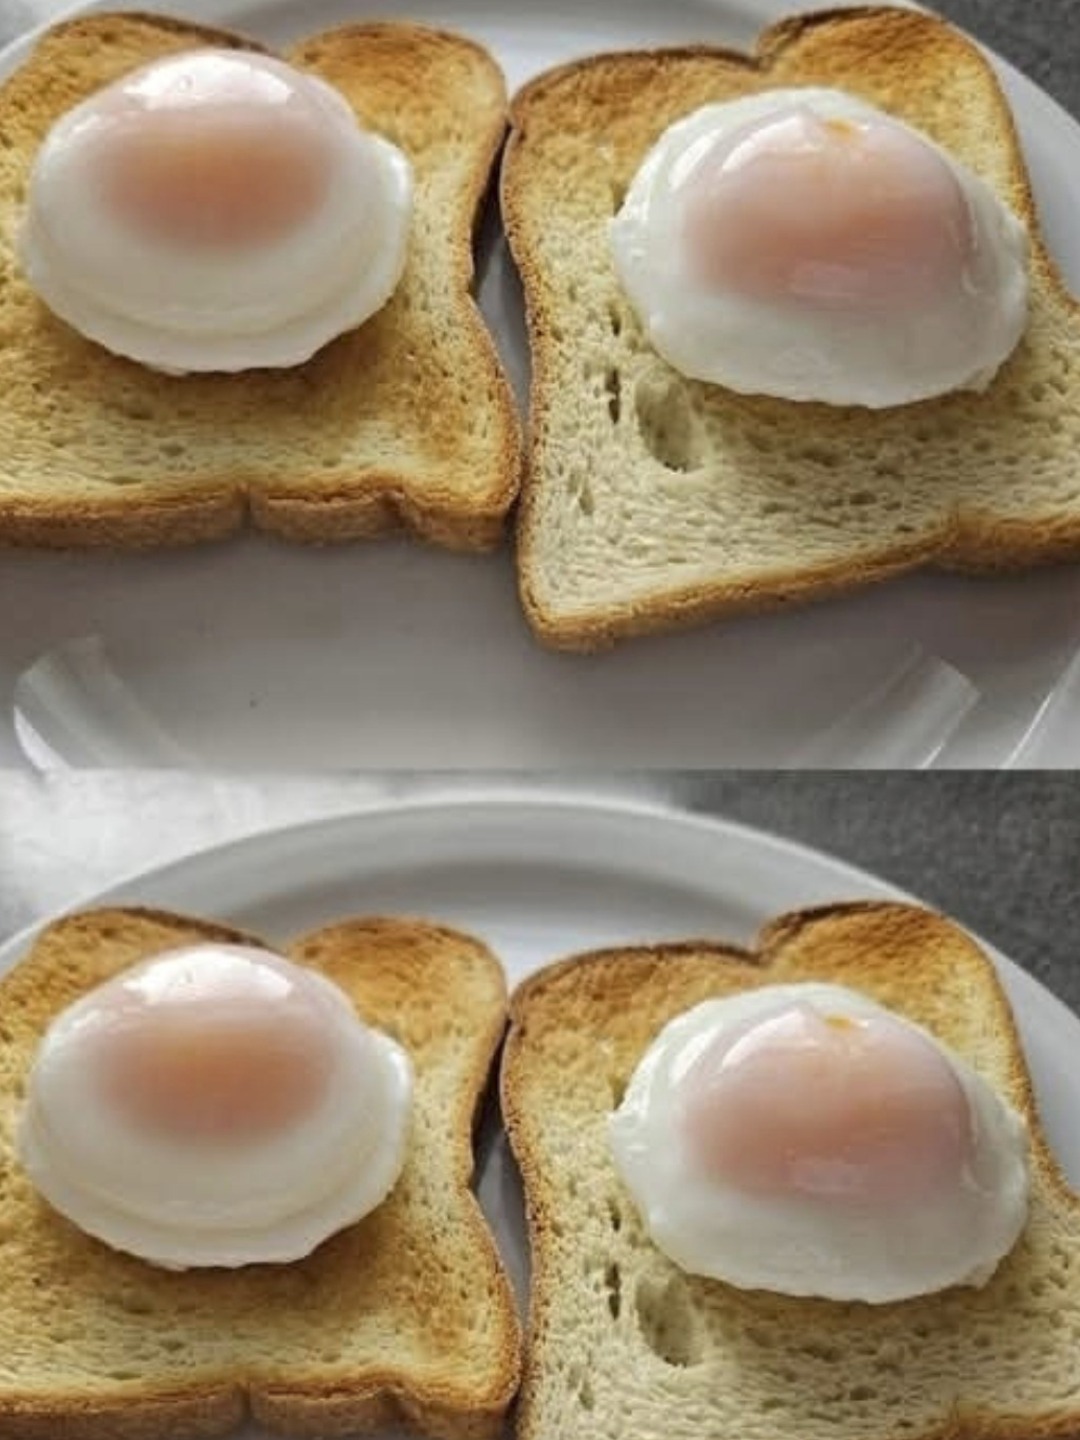
Step 6: Serve Immediately
Place on toasted sourdough, avocado, a warm salad, or your favorite breakfast bowl. Season with flaky salt, pepper, and a pinch of chili flakes if you like.
💡 Pro Tips for Perfection
Salt the water lightly (optional)—it seasons the white subtly and helps it set faster.
Use room-temp eggs if possible—they’re less likely to crack from thermal shock.
Double-poach for meal prep: Cook eggs, chill in cold water, then reheat in warm water for 30 seconds before serving.
If you MUST use older eggs: strain them through a fine-mesh sieve first to remove watery whites—then proceed as above.
🌟 Why This Method Works
By eliminating turbulence, controlling temperature, and respecting the egg’s fragility, you create the ideal environment for it to set gently—like a cloud forming in still air. No vinegar needed (which can leave a faint tang), no frantic swirling (which breaks yolks), and no guesswork.
✨ Final Thought
Poached eggs shouldn’t be a weekend gamble.
With this method, they become your secret superpower—a 4-minute luxury that turns any meal into something special.
And hey—if your kids (or partner) are poached-egg lovers, you’ll earn instant kitchen hero status. 😉
ADVERTISEMENT
